The necessity to save information from the internet is growing. People seek to record streaming that might not be immediately retrievable for a variety of reasons, including educational, professional, and recreational. Whatever the situation may be, recording a computer screen can be done in a number of different ways. You should be able to record your screen on Windows and then modify it afterwards if you just follow a few simple steps.
Steps to take in recording your screen
Have you ever needed to record your computer screen, but didn’t know where to start? Look no further than your own Windows system. Yes, you read that right – Windows actually comes equipped with a recording function that many users aren’t even aware of. Originally intended for gamers, this feature can actually be used for any type of material. While there are professional software options available that offer advanced editing tools, recording using your PC’s existing features can be a simple and effective option. So whether you need to create tutorials or capture a captivating moment, recording your screen has never been easier.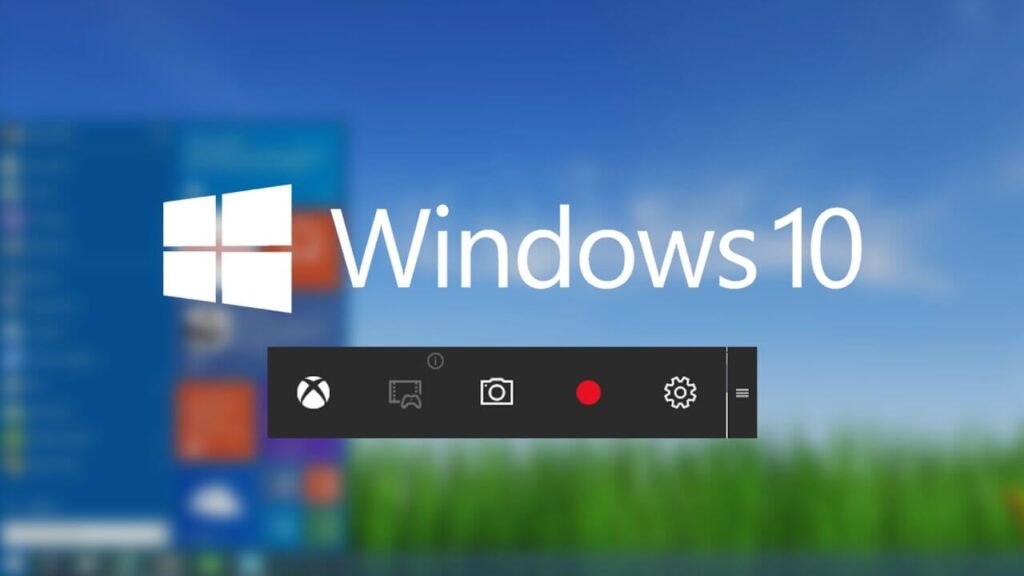
Windows 10 – Xbox Game Bar
With Windows 10, your computer already has the hardware and software needed to capture your screen. The Xbox Game Bar can be used to record gameplay. While its primary use may be in the gaming industry, this technology has a far broader range of potential applications. Create a recording of your screen and add audio from your computer’s microphone or another external audio source.
To do this, you should take the following steps:
- To begin recording, launch the window you wish to use.
- Pressing the Windows key plus the G key will launch the Game Bar app. You can access the Game Bar configuration menu in this way.
- After selecting an option in the Capture box, you may start recording by clicking the “Record” button. When you’re ready to stop recording, just press the Stop button. An MP4 file will be created.
- You may play the video again by pressing the Windows key and the G key simultaneously. A “Gallery” menu item will appear on the left sidebar where you can access all of your past recordings. To get the most out of the Xbox Game Bar, you may want to check out these helpful hints.
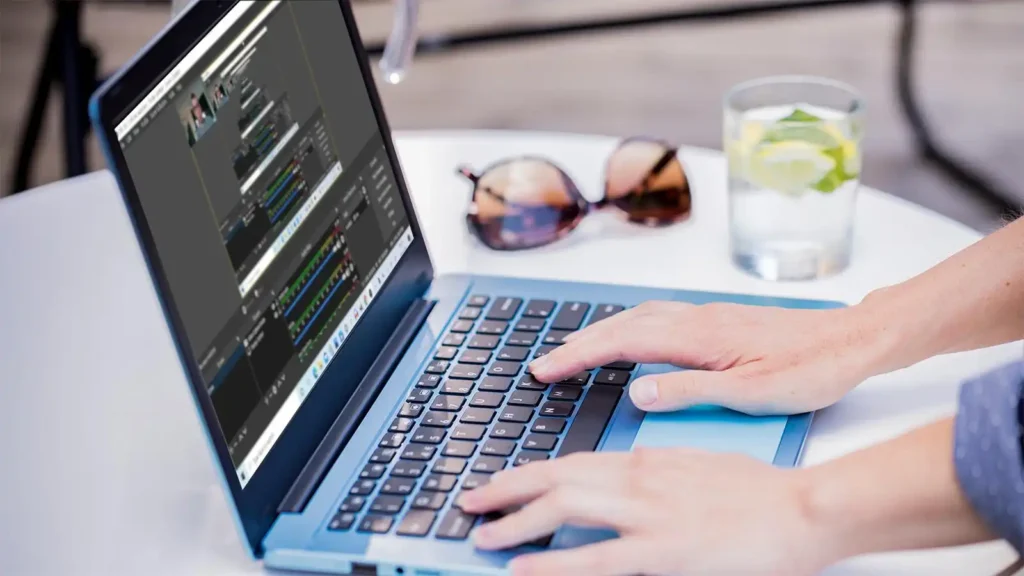
Editing recordings made in Windows 10
You can modify recordings you’ve made in Windows 10 once you’ve made them using a reputable PC screen recording programme. The Windows photo app has video editing capabilities similar to those of its photo editing counterpart. Simply right-click on the desired video, and then pick Open > Photos from the menu that appears. To access a variety of editing instruments, click Create after selecting Edit from the toolbar.
Videos can be edited to the desired length by removing unnecessary segments and adding relevant ones. The altered videos, along with the originals, can then be saved.
Windows 11 – Snipping Tool
The snipping tool is another example of a tool that is underutilised because of the widespread misconception that it can only capture still photos. The snipping tool is most often used to cut out sections of screenshots, but it has other applications as well. Although it is not compatible with previous OS versions, it should run fine on most modern computers.
Simply navigate to System > About in your device’s settings menu to verify the build number. If it’s greater than 22621.1344, you’re probably fine. If it doesn’t, you can always get the most recent update from the Play Store.
To make a recording using the Snipping Tool, you should take the following steps:
- Find the snipping tool by selecting Start > All Apps > Snipping Tool. You can begin a new recording by clicking the “New” button next to the Camera symbol. The keyboard combination Windows + Shift + S can also be used.
- A countdown timer of three seconds will appear before your recording starts.
- By cropping the video like a still photograph, you may select just what you want to record from your screen. Any time you want, you can pause and cut out the fluff.
- When you’re done, just hit the Stop button to end the recording. It can be saved as an MP4 file and then shared from your computer’s desktop or another location.
Keep track of video and other types of files
You, like a lot of other people, probably have a tonne of paperwork piling up. Most people also have many documents in formats like Word, Excel, and PowerPoint, in addition to video files. The files on your computer’s desktop can quickly accumulate to the point where they become a distraction, especially if you don’t take the time to organise them.
That’s why it’s smart to invest in a desktop organiser. Having the correct tool at your disposal can facilitate organisation, file resizing, deletion of unnecessary files, etc. You will find a larger need for a supplementary planning resource as your workload increases. Consider acquiring a useful tool before you cave under the pressure.
Make outstanding recordings for any need
In today’s digital age, making recordings has become easier and more accessible than ever before. With a wide range of products available, there is a method to suit every need, whether it be a simple voice memo or a complex audio project. Don’t be intimidated by the idea of making recordings – with a little bit of research, you can find the perfect tool for your needs, regardless of what device you have. Whether you’re using a PC or a mobile device, there are plenty of options out there to help you make the outstanding recordings you need. With the right tools, you’ll be able to capture clear and professional audio no matter what your project may be.