Decided to squeeze extra juice out of your GPU and need guidance? You’ve come to the right place – you’ll get all the instructions to overclock GPU you’ll need. You should know that the results will vary. Even if you have an identical GPU model as someone on the Internet, you might have had bad luck and gotten lower-quality silicon that makes the GPU chip. Plus, your cooling solution, air circulation inside the PC case, PSU, old thermal paste, and dust build-up can prevent you from reaching the maximum potential. Luckily, those can and should be improved, but we suggest you learn how to overclock GPU first. Here goes.
Is GPU overclocking dangerous?
People are most concerned about breaking their laptops. When we discussed the benefits of overclocking, we aimed to dispel that idea. After reading it, you’ll have peace of mind knowing that the procedure is well-protected. In the worst case scenario, you may have on-screen artefacts and a system restart. Your GPU will be reset to factory settings after rebooting with no ill effects.
What do I need to overclock my GPU?
The following are required in order to overclock your GPU:
- An overclocking software. Companies like AMD and Nvidia, which make graphics processing units (GPUs), and NZXT, ASUS, Sapphire, and EVGA, which sell those GPUs and customise them, frequently develop their own software.
- A benchmarking tool. Its goal is to artificially tax your GPU to its limits so you can keep tabs on the overclock and associated temperatures.
If you’re looking to improve the performance of your GPU, overclocking can be a great solution. But before you start tinkering with your settings, it’s important to ask yourself one crucial question: is overclocking the right choice for your laptop? This decision ultimately depends on your laptop’s cooling capabilities and how it was configured by the manufacturer. Assuming you decide overclocking is worth a shot, here are the steps you’ll need to take. By following these instructions carefully, you can give your GPU the boost it needs to handle even the most demanding programs and games.
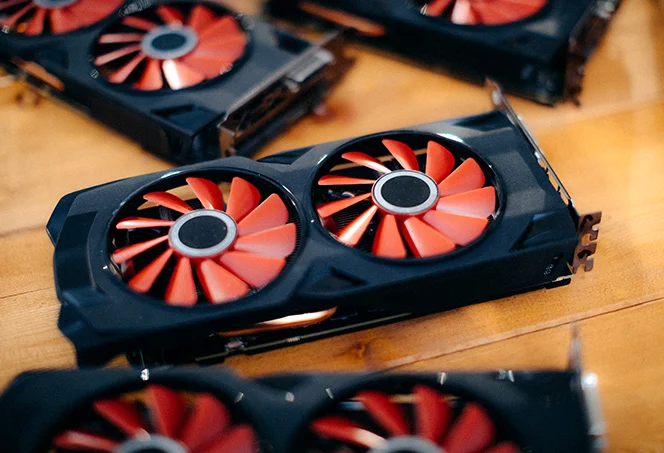
1. Run a benchmarking test
You’ll need to pick a benchmarking tool to get your baseline numbers. There are several options, but we’ve had the most luck with 3DMark and FurMark because they’re both free and quite simple to operate. The following is a guide to conducting a benchmark in FurMark:
Send out FurMark.
You can kick off a FurMark benchmark in one of two ways:
Select a resolution from the drop-down menu (4K, 1440p, 1080p, 720p), and then hit the GO! button.
To run a GPU stress test, change the resolution using the drop-down menu after clicking the button.
Optional. You can put more strain on the GPU by choosing an Anti-aliasing level (2x, 4x, or 8x), although it’s not required.
The end! Put down the keyboard and mouse for ten to twenty minutes.
Write down the highest temperature before you stop the test. You can breathe freely at temperatures between 65 and 75 degrees Celsius. You may be able to increase performance if the temperature is above 80 degrees Celsius, but only to a certain point.
2. Select the overclocking software
It is time to select software now that you have temperature values without overclocking. We already established that numerous exist; nonetheless, MSI Afterburner will serve as an example. Our choice was based on a number of factors, including:
It’s compatible with both Nvidia and AMD video cards.
It has an adaptable, user-friendly graphical user interface.
It’s difficult to make a mistake while adjusting the parameters.
You can create and save several overclocking profiles for future use with a single mouse click.
3. Increase your GPU clock
Now that MSI Afterburner is setup and running, pay attention to the following settings:
The second bar down indicates the power limit, which is always at 100%.
The maximum allowable temperature, typically between 83 and 93 degrees Celsius.
Defaults to a 0 on the Core Clock (MHz) slider.
The default value for Memory Clock (MHz) is 0.
Instructions for novice GPU overclocking:
Move the Core Clock slider to the +100 position.
Optional. Power Limit can be raised to 120% if you have a robust power supply unit.
Optional. Bring up a Temperature Limit to just below its maximum value. We suggest a temperature between 90 and 95 degrees Celsius.
To verify, please tap the checkbox symbol .
4. Benchmark again
Go ahead and use your benchmarking software. For the sake of uniformity, utilise the same settings as before. Keep an eye on these three things in MSI Afterburner while you let it run for another 10-20 minutes:
The main number in the upper left is the GPU Clock.
The subtotal of the memory clock.
Temp, the huge number in the lower right.
Has the FurMark image ever been unstable, sluggish, freeze, or undergo any other strange changes, or have you ever encountered a blue screen of death? Your GPU’s overclocking potential is minimal, and there’s considerable instability. Specifically, you can:
If your PSU isn’t as powerful as you thought it would be, turn the power down to 100% or 110%.
Reduce Core Clock by 10 MHz (to +90) and try again if you’re certain the power supply isn’t the problem. Unfortunately, it is as high as you can go with your Core Clock.
If, however, you noticed nothing amiss, then continue.
5. Find the Core Clock maximum
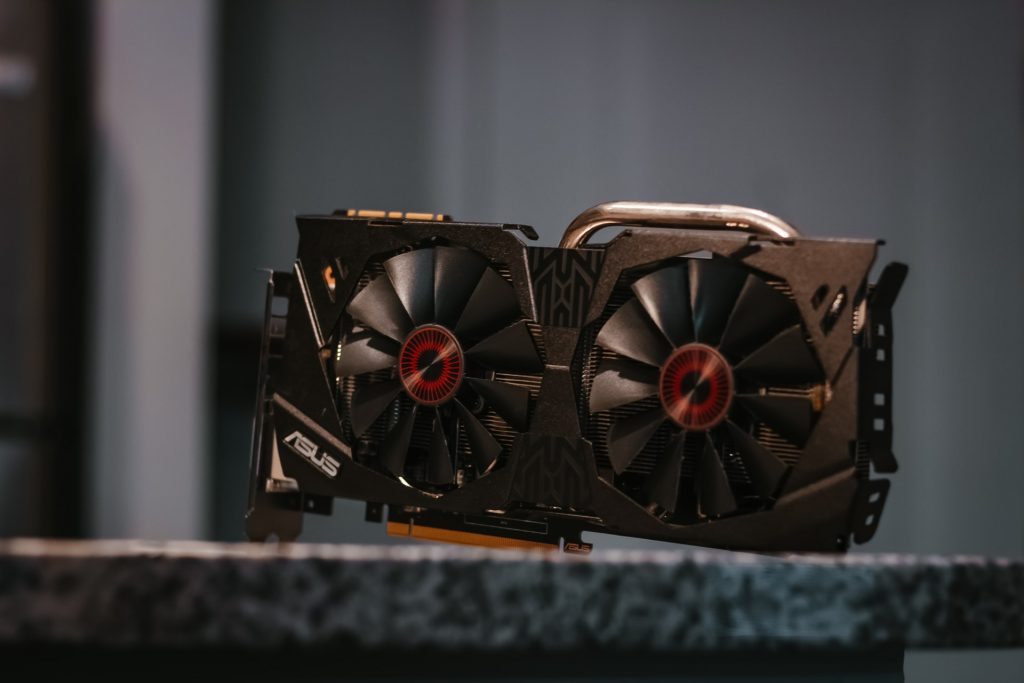
By using the same procedures, you can overclock your GPU by an additional +50, bringing the maximum Core Clock to +150. Re-execute your benchmark for another 10-20 minutes. If there are no noticeable issues with the benchmark or the display, you can bump it up to +200. You should now gradually increase the value (by +20 at a time) and perform benchmarks in the middle until you encounter screen blips or a computer reset. When that happens, down the Core Clock by 10 MHz from the highest value you’ve had problems with. When you reach a stable Core Clock increase, pause and write down the value.
How to test GPU stability?
Just because you apply an overclock and your graphics card doesn’t immediately catch fire doesn’t mean you have a stable overclock. Verify that the modified settings will not overheat or slow down after prolonged use. For this purpose, there is a plethora of free stress tests accessible over the internet. While not really games, they can fool your graphics processing unit into thinking they require a similar amount of processing power, and they can be looped to run in the background for as long as you like without interruption. If the stress test or your computer freezes after prolonged use, you may have overclocked too much. Then try again after temporarily lowering the clock rates or voltage.








Leave a Reply